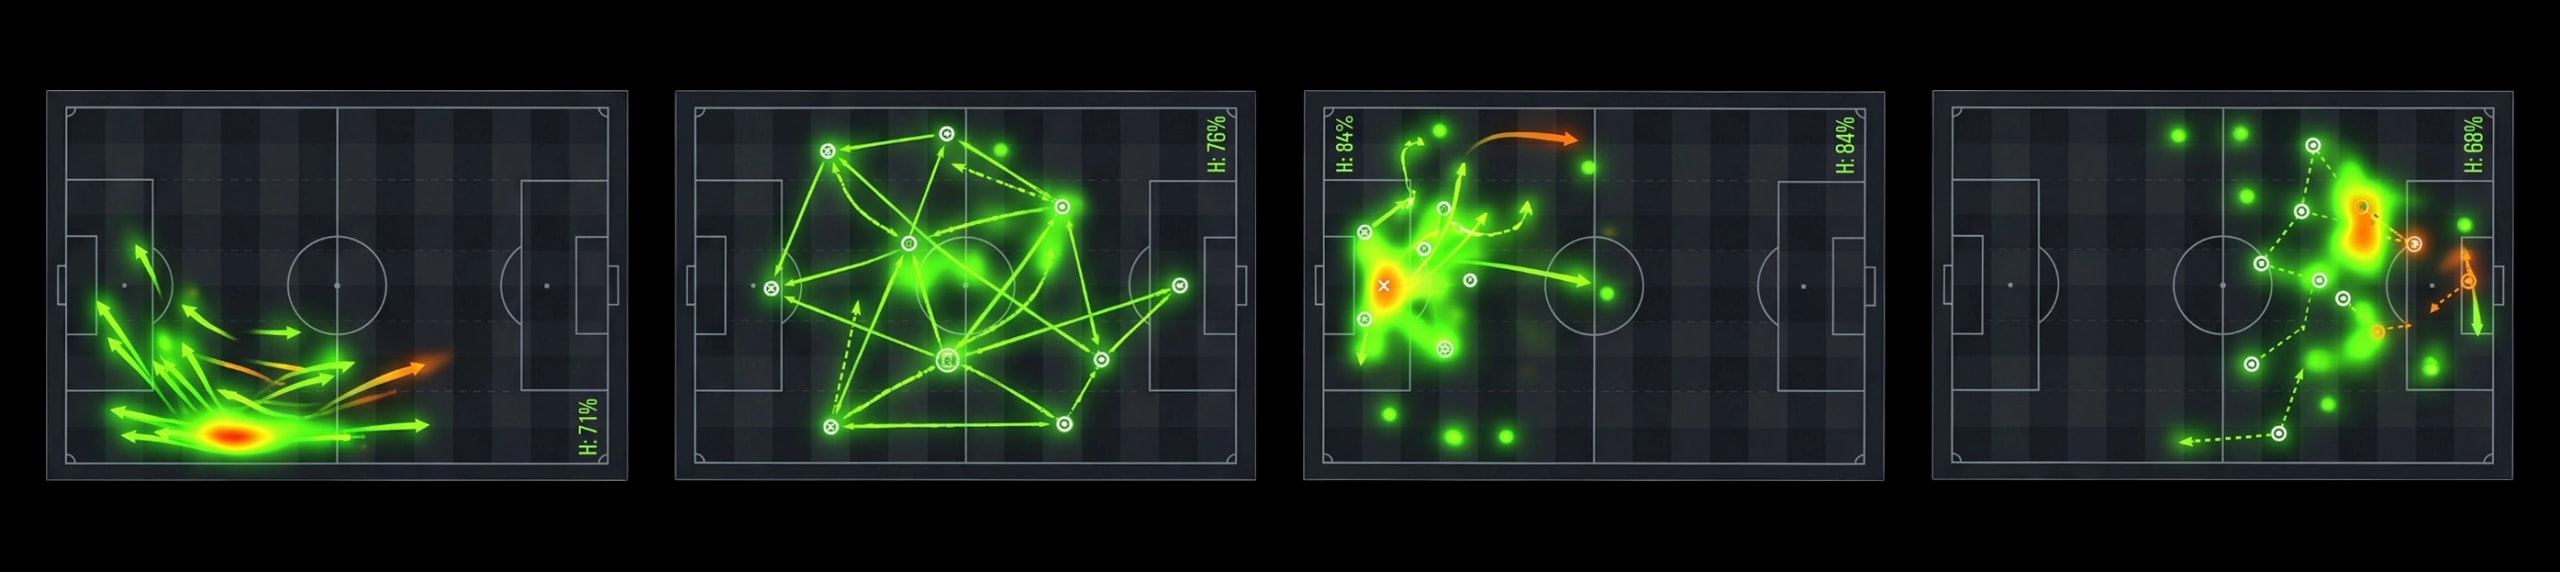














131'

 Tranmere
 296.9
 75.8
 46.4
 55.9
 96.4
 196.9
 106.6
 97.5
 86.8
 156.1
 26.4237.2
 76.5
 116.2A
 246.1
 13
 6


| Player | ||||||
|---|---|---|---|---|---|---|
| Ted CannG | 3 | 2 | 1,20 | -0,80 | 7/26 | 2/21 |
| Luke McGeeG | 1 | 2 | 1,35 | -0,65 | 26/41 | 22/37 |
Chance quality as it built up. A steep step is a big chance.
Tranmere0,72 xG · 2 scoredRotherham1,83 xG · 2 scoredHow those chances were made
Tranmere shoot right, Rotherham left. Bigger dot = better chance.
Where each shot on target crossed the line. Placement beats power.
Bradshaw's 90' chance was the biggest of the match: 0,79 xG, scored.
Every shot on its minute, Tranmere above and Rotherham below. The longer the bar, the bigger the chance. Faces on goals and on chances of 0,3 xG or more.
Tranmere12 shots · 0,72 xGRotherham14 shots · 1,83 xGWhich side was on top, minute by minute. A taller bar is heavier pressure.
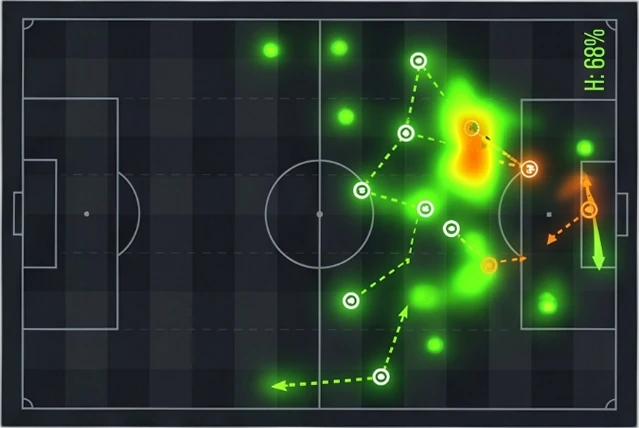
Tranmere37% pressureRotherham63% pressure2-290' Goal Tom Bradshaw 0.79 xG · Penalty · Right footEach starter's average position on the ball, with the number of those actions inside the chip. Both sides attack left to right. Tap a player to see where they actually were.
TranmereDefensive line 32%RotherhamDefensive line 32%An average, not a movement map: it says where a player's actions balanced out, not where they ran.
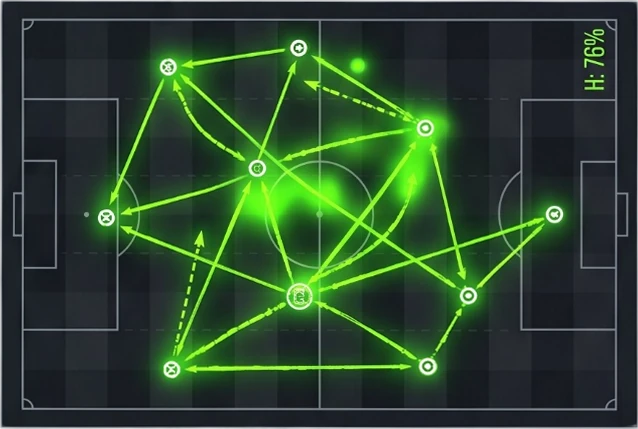
Each player at his average position, sized by passes made. Lines join team-mates with 5 or more passes between them (fewer when a side made its first change early), thicker for more. Counted until each side's first substitution. Both sides attack left to right. Tap a player to isolate his links.
TranmereUntil 62'Most-connected pair: Turnbull and Slater, 15 passes between them.
RotherhamUntil 67'Most-connected pair: Rafferty and Hall, 14 passes between them.
46control54Field tilt is each side's share of play in the final third.
↓ Lower is better, so the longer bar always wins. PPDA is opponent passes allowed per defensive action.
Distances are how far the ball was moved forward, not how far anybody ran.
A take-on is a player going past an opponent with the ball at his feet.
xT values where a possession reached; VAEP values every action by how much it shifted the chance of a goal.
An attack is direct when it moves upfield quickly rather than through many passes.
The goal that swung the win probability the most. Press play to replay the move, touch by touch.
 T. InceLeft foot · assist J. Slater87'
The same match, split at the break. Which half did each side actually win?
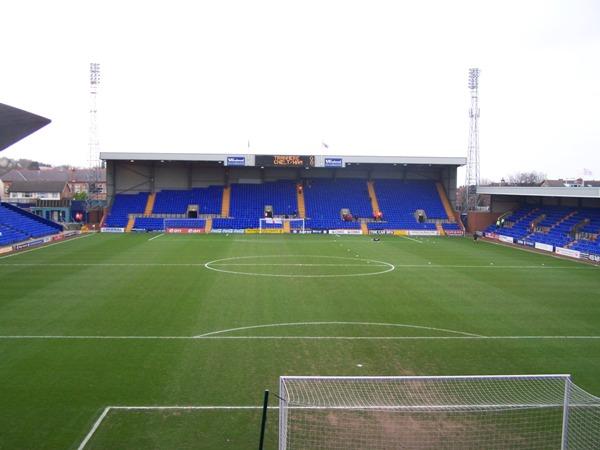
Tranmere and Rotherham drew 2-2 at Prenton Park in the League Two. Tranmere led 1-0 at half-time. Scorers: Z. Okoro (16'), T. Ince (87') for Tranmere; A. Nemane (84'), T. Bradshaw (90' pen) for Rotherham. Tranmere finished with ten men after Bobby Faulkner was sent off. In their last 5 meetings, Tranmere have won 0, Rotherham 2, with 3 drawn. Full match stats, lineups and player ratings are all on this page.
→ Double chance: Tranmere or draw
The factors the model weighed, each split between the two sides.
Share per factorCast your vote!
How often each side reaches a scoreline, across 14 matches each.
Share of their matchesbest 3-1 (H)·worst 2-4 (A)
best 2-1 (H)·worst 1-4 (H)
0TranmereA. Nemane added the most value in this match, and was above the middle at both ends.
Every player on one map: attacking value across, defending value up. Tap a player to see why.
Above the middle of this match in attack and in defence.
Tranmere v Rotherham, players with 20+ minutes. Value is VAEP: how much each action raised his side's chance to score (attack) or lowered the opponent's (defence). The lines cross at the middle player of this match.
TranmereScores most 61-75 · concedes most 76-90
RotherhamScores most 0-15 · concedes most 46-60
The leading scorers and assist-makers in the League Two this season.